
Important
Installing Manim
Follow the instruction in the Installation Page on the official documentation. After installing Manim get back here for configuring the virtual environment. In my case, I use Windows; I used chocolatey to install Manim (choco install manimce).
Configuring the Virtual Environment
-
Open a Terminal (say
cmdon Windows) on the project directory. The project directory can be anywhere including a folder on your desktop. For me it’sC:\dev\manim-project. I opened a PowerShell window by doing Shift+Right Click and then clicked onOpen PowerShell window here. (On windows 11 you would need to clickShow more options)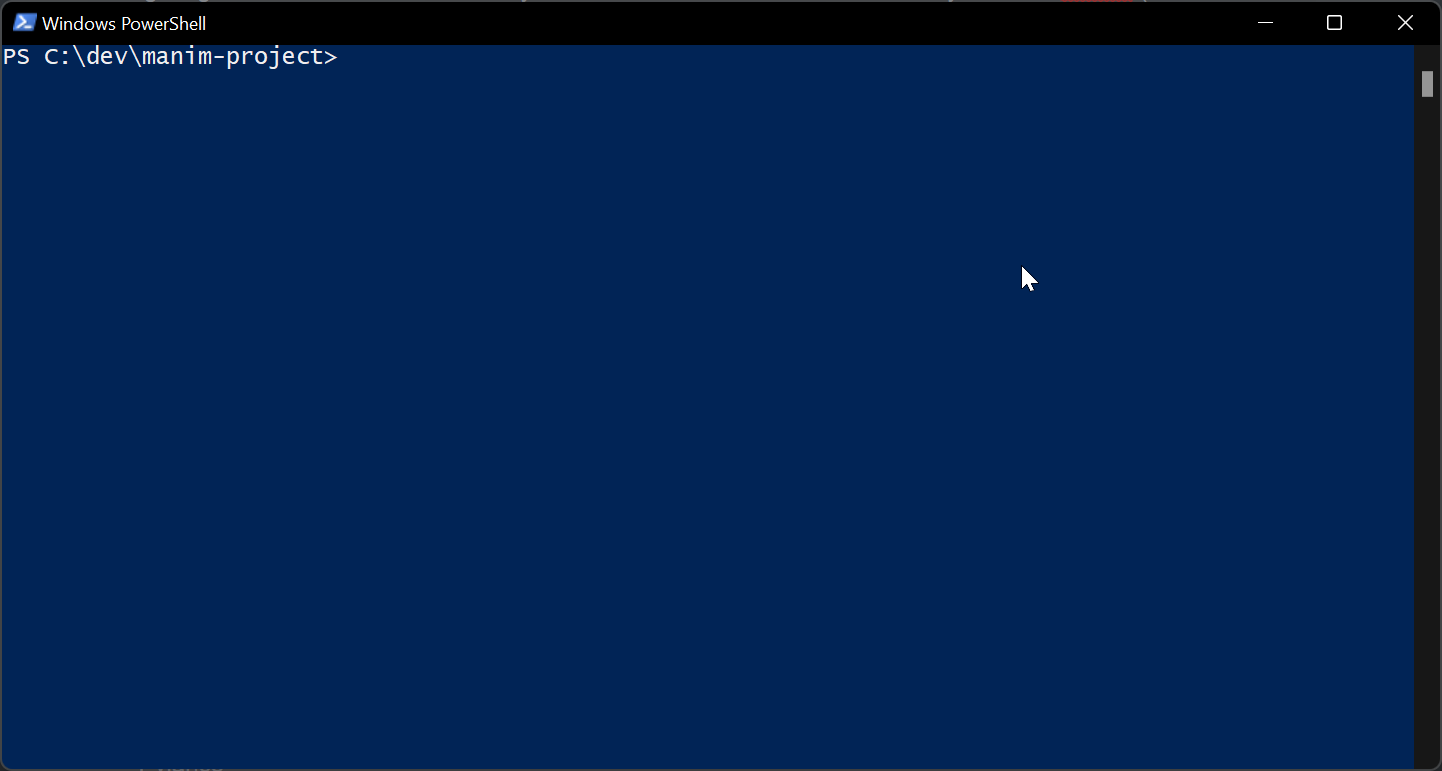
-
Create a new virtual environment
python -m venv .venv -
Activate the Virtual Environment.
- On Windows:
.venv\Scripts\activate(should work on cmd, also) - On macOS/Linux/WSL:
source .venv/bin/activate(this will include Git Bash users on Windows also).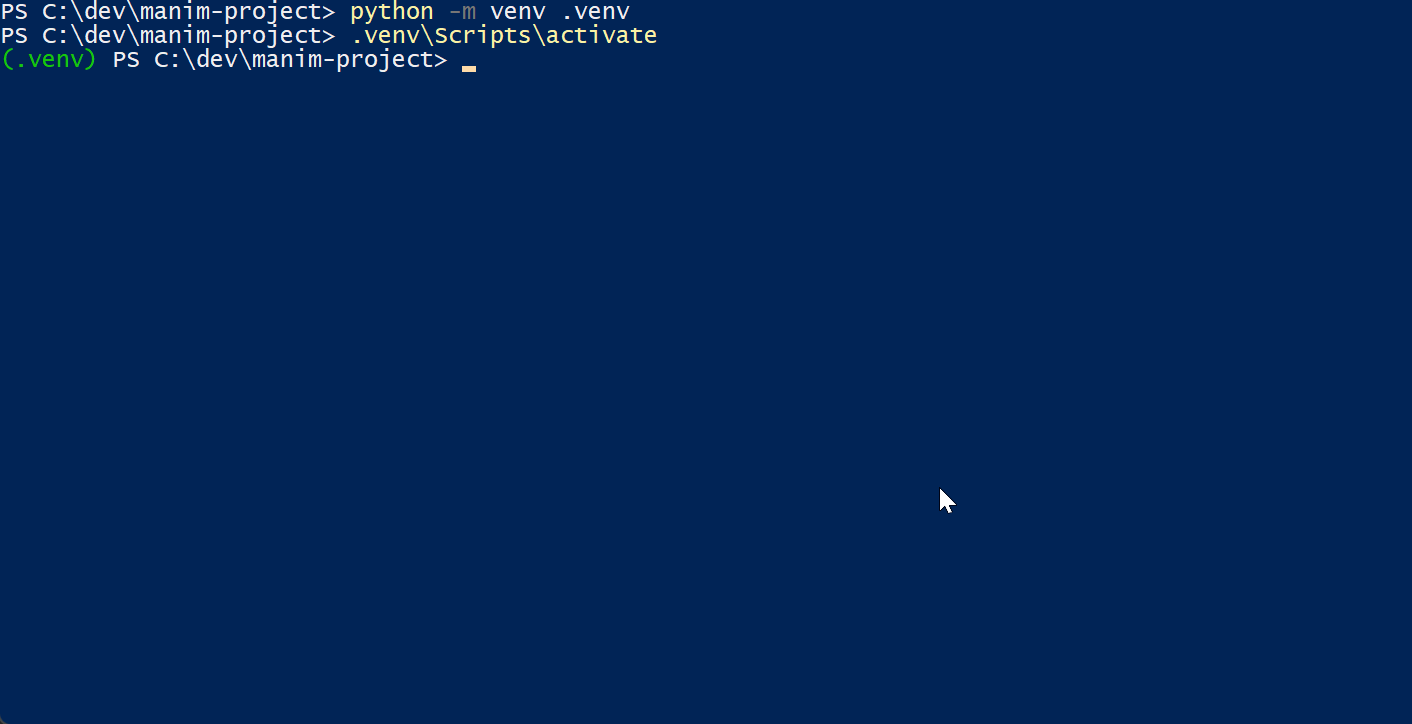
- On Windows:
Note
On powershell, you may see an error like below when activating the virtual environment.
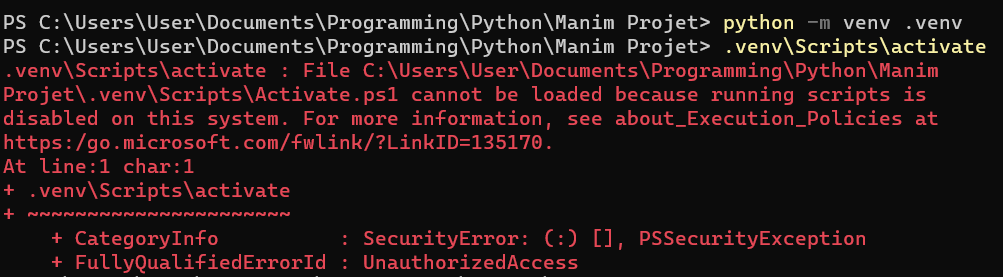
In which case, you can run the command
Set-ExecutionPolicy Bypass -Scope CurrentUserAlso doing so could introduce security issues, have a look at the docs before running this command.
-
Install Manim using pip:
python -m pip install manim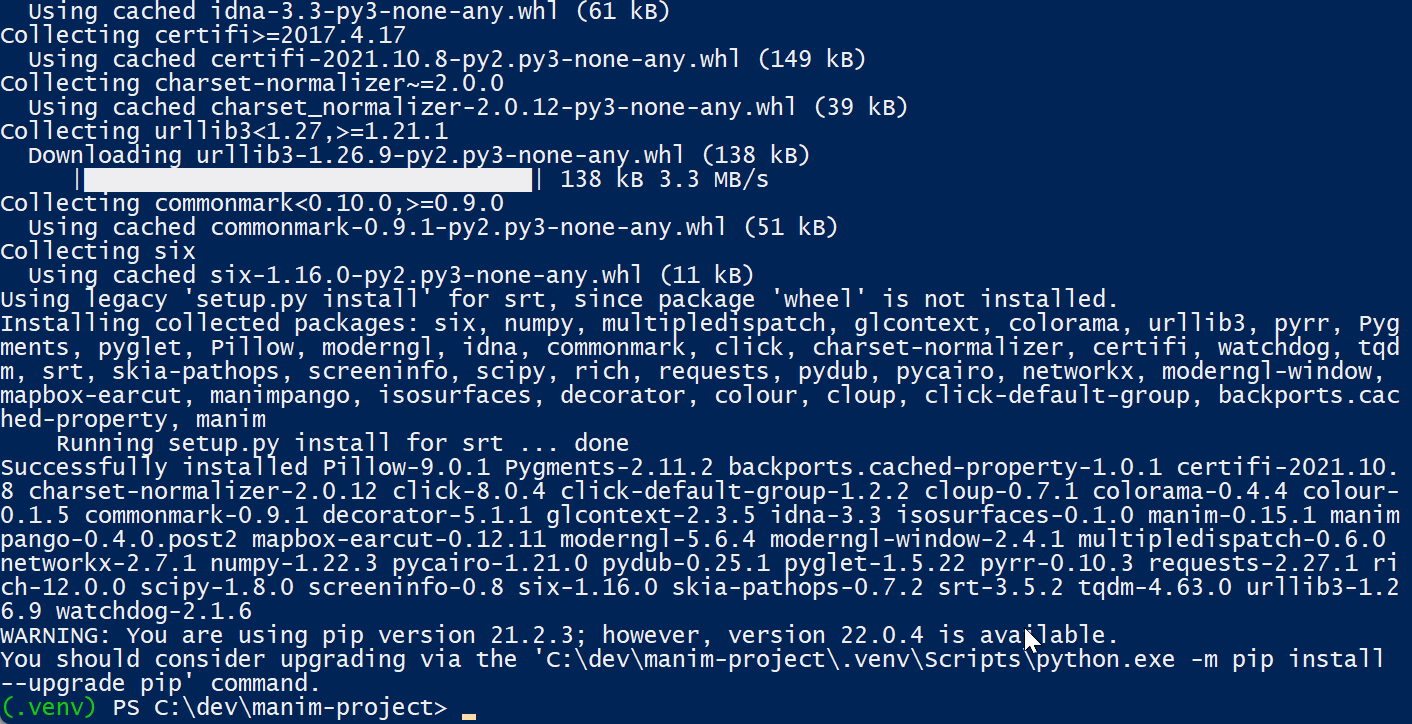
If you followed the steps correctly you should see the version of manim when running manim --version in that terminal. Just don’t close the terminal yet, that will be used in the next steps.
Initializing a Manim project
To initialize a manim project run:
manim init project <project-name>where <project-name> should be replaced by the directory where you need to create a project (introduced in manim v0.16.0).
Manim asks for some questions and creates the project accordingly with configuration files.

This should create 2 files main.py and manim.cfg inside the <project-name> folder.
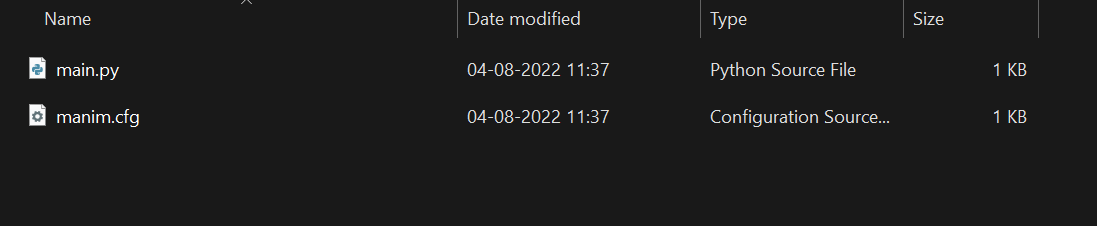
manim.cfg contains the configuration files necessary for Manim. They can be overridden by command line flags. See the documentation for a tutorial on using them.
You would need to cd into <project-name> directory before continuing next steps.
cd <project-name>Configuring Visual Studio Code
-
Open VSCode. Typing
code .in the same terminal should do the trick. -
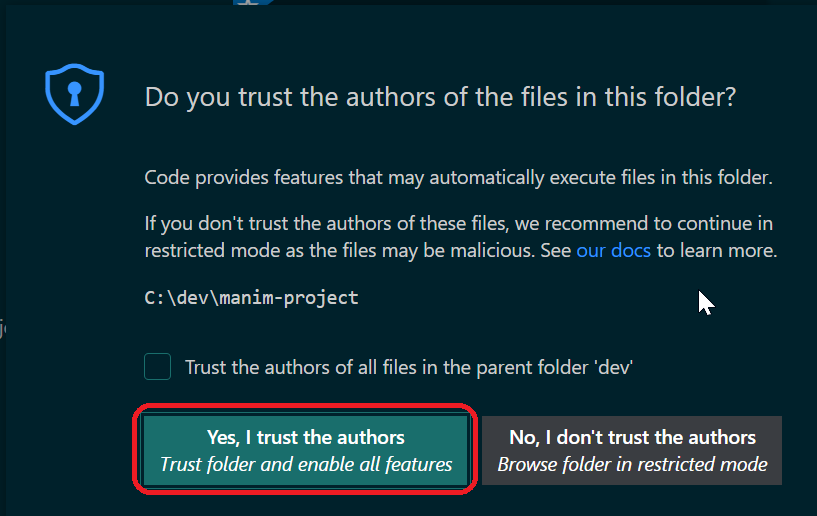
Click “Yes” in the dialog box. (This is needed so that other extensions work correctly)
-
Install the following extensions.
- Python
- Pylance
- Jupyter (optional, for using manim on Jupyter)
- Jupyter Keymap (optional, ignore if you like visual studio’s keymaps)
- Color Highlight (optional, if you don’t want a color picker for colors)
- Rainbow Brackets (optional, if you don’t want all brackets to be of same color)
- Manim Sideview (optional, if you don’t want live preview of code video you generate)
-
Select the Python interpreter by clicking F1 and searching for
Python: Select Interpreter. Select the virtual environment previously created.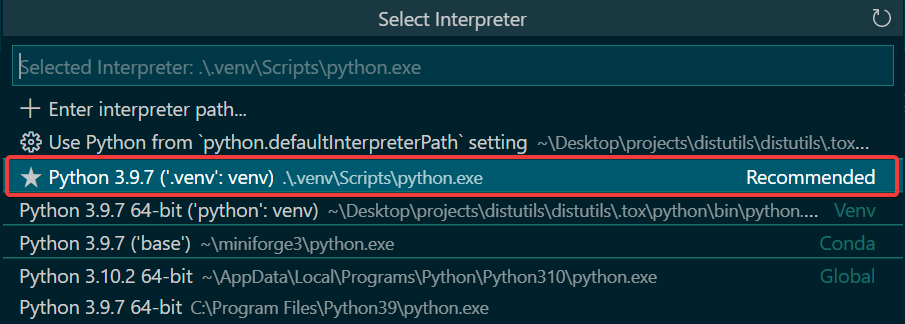
-
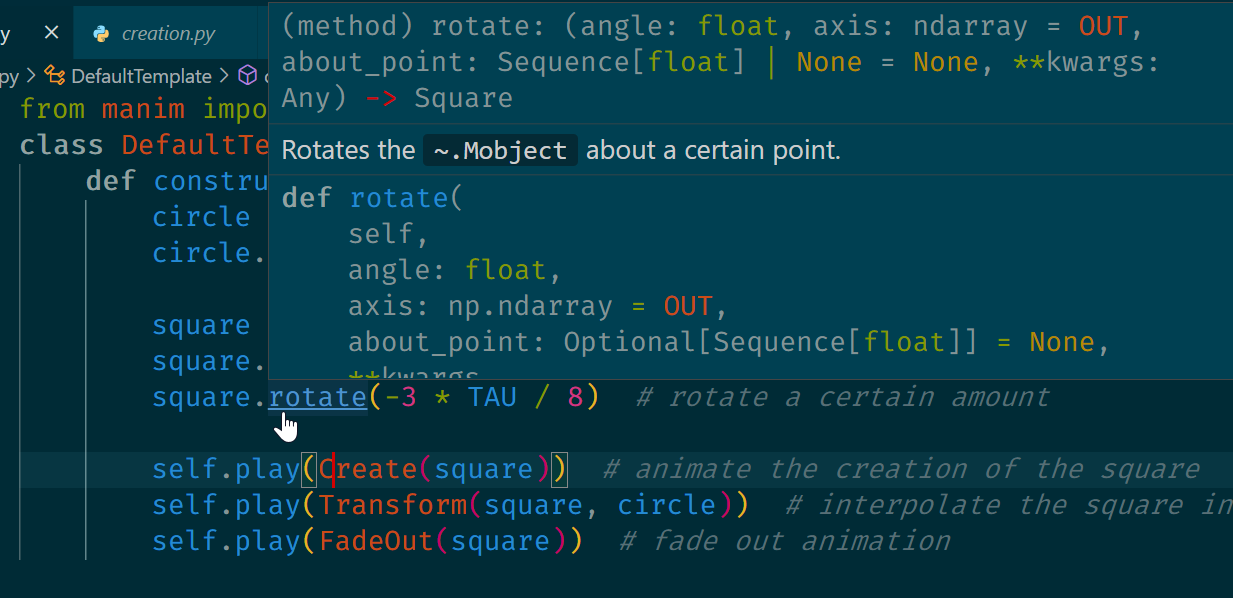
If everything is configured correctly pressing Ctrl + Click should get to the corresponding definition of that class. Also, there would be no yellow swiggly lines.
-
If you want to use Jupyter for working with Manim, then open the same terminal and run
python -m pip install manim[jupyterlab] -
You can open a terminal in VSCode Ctrl + ` and run manim commands there.
Hope this helps you in configuring Visual Studio Code to work with Manim. If you have an error, or found something to difficult to understand, jump over to #help-form on Manim’s Discord server.